This feature is optional and only visible to Enterprise customers with this feature enabled.
On Moveshelf you can automate the process of grouping multiple files into trials, by uploading a directory. General information about how to upload a directory can be found in this secion. Please refer to the following sections for specific data requirements for:
Vicon,
Noraxon,
MOX,
Theia or
TEMPLO directory upload. Feel free to contact
Moveshelf support if the third party integration that you are looking for is not in this list.
How to upload a directory
- Open your subject on Moveshelf either by clicking a URL in your EHR or manually navigate to your project on Moveshelf and select or create a new subject.
- Create a new session.
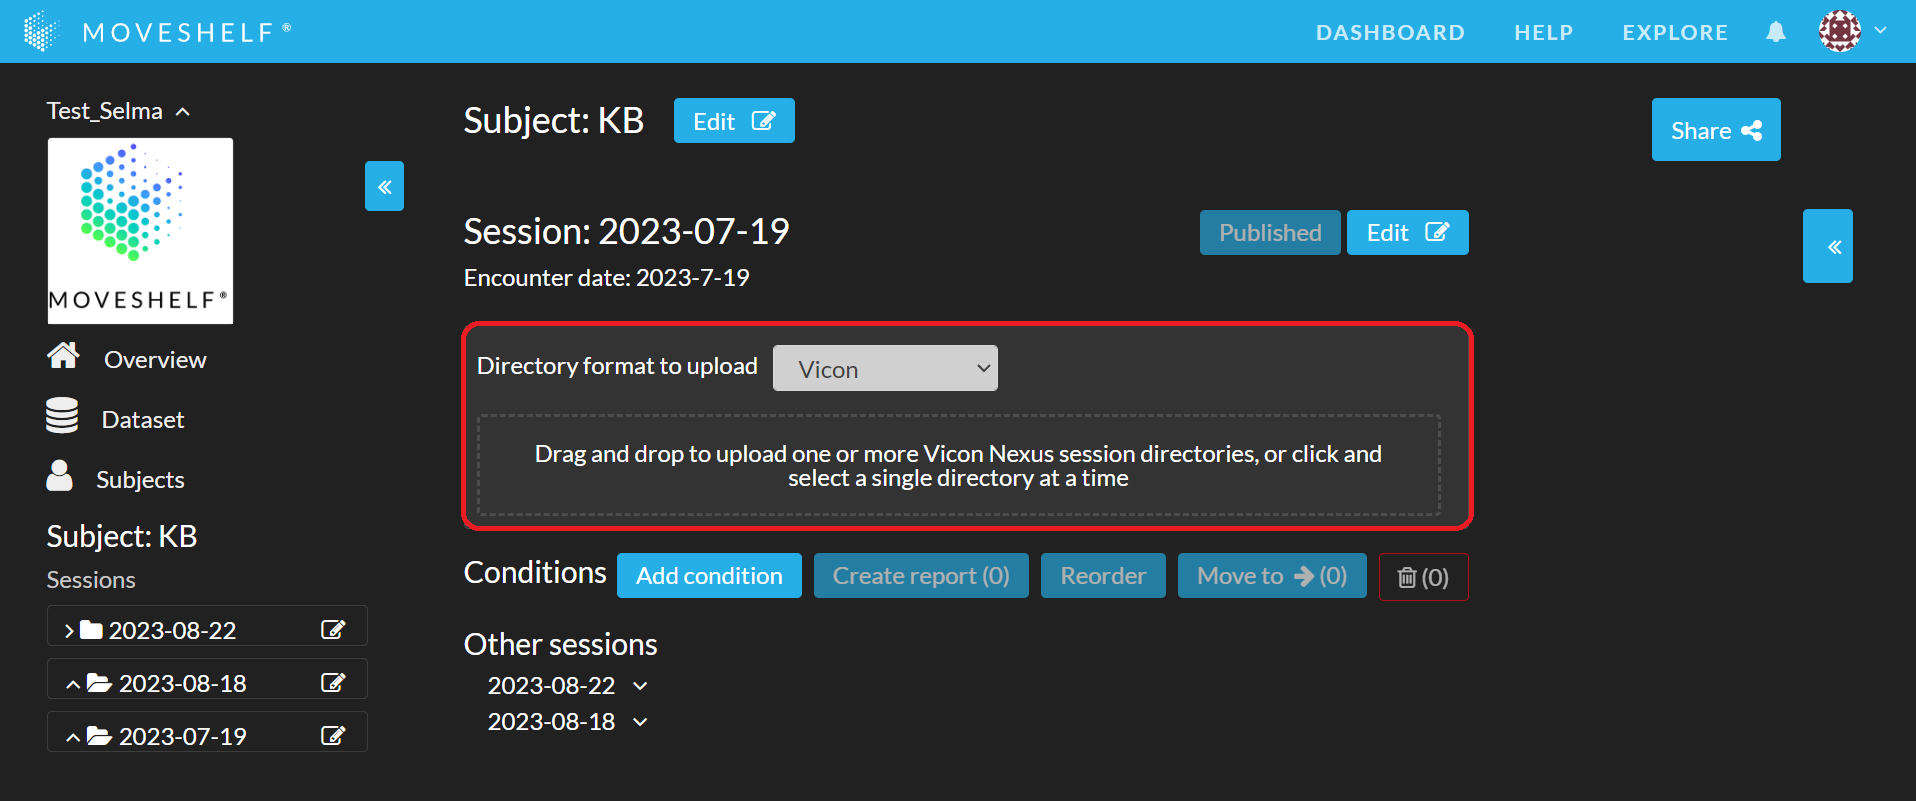
- If your organization has directory uploads enabled from other vendors as well, select the type of directory you'd like to upload through the drop down menu on top.
- Upload the directory by navigating in your local storage (e.g., Windows explorer) to the correct folder and drag and drop the folder in the upload area.
- Moveshelf will read the directory and show you the structure that your data will be uploaded in. The order of conditions is based on the creation date and time of the earliest trial in the condition.
- Click 'Upload'. All files will now be uploaded and processed, during which you will see a progress bar on top of page.
 Please do not leave the page while uploading
 (initial green upload bar is active). Once uploading is complete, the progress bar will turn orange to indicate the processing of the data. It is safe to navigate again to other pages as this process is performed in the backend and will not be disturbed by navigating away from the page.